

Disclosure: Content linked in this article may be affiliate links. All that means is that I may earn a few pennies if you use the link and make a purchase – it helps me keep this site up 🙂 This post is not sponsored directly by these companies and only contains products that we genuinely love and recommend for any keyboard enthusiast. So thanks in advance if you choose to click!
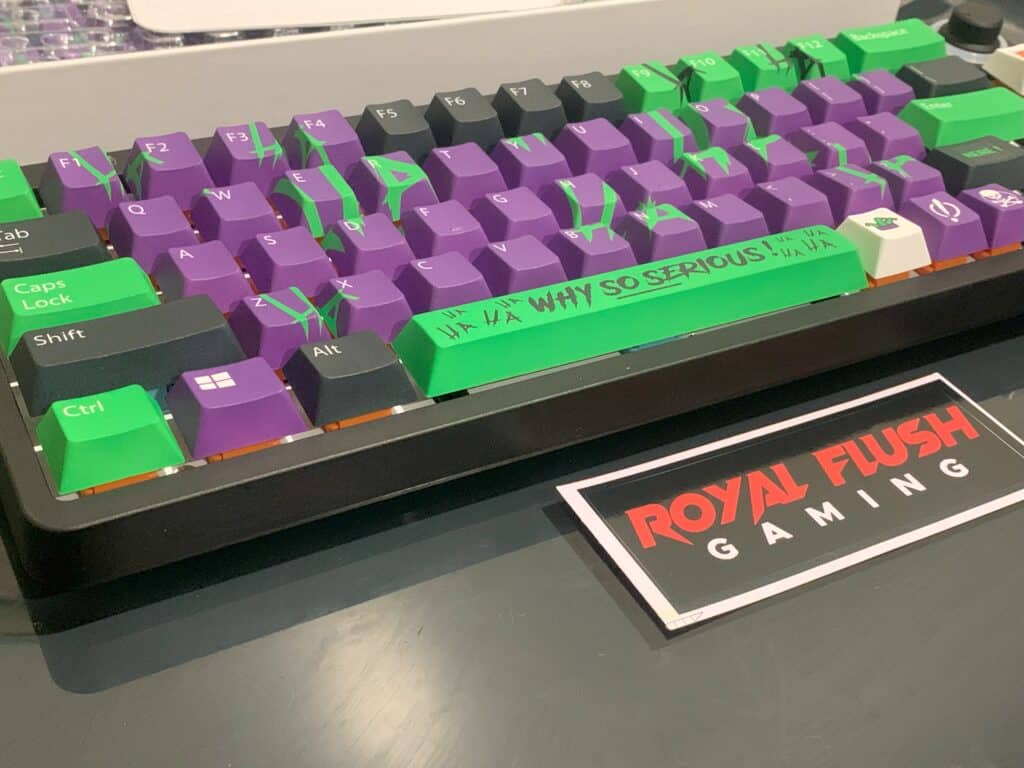
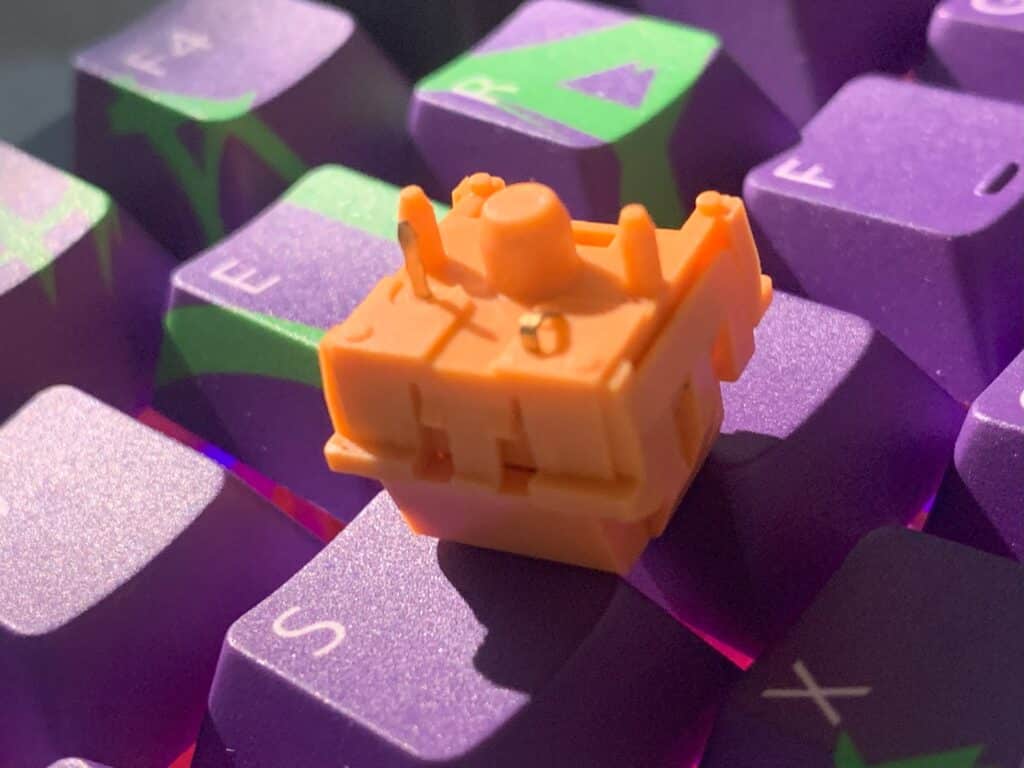
I was lucky enough to be sent some great gear from Royal Flush Gaming to share with you guys. I received a fully built setup on a hot swappable TKL 67 Barebones board, with thoccy Aflion carrot tactile switches.
As well as two other sets of switch types- Afleon Blue Sky Linear switches, and the Aflion Panda Tactile Switches- I also received a new proprietary set of Joker keycaps custom designed by Royal Flush Gaming.
First Impressions
Hot Swapping the Board
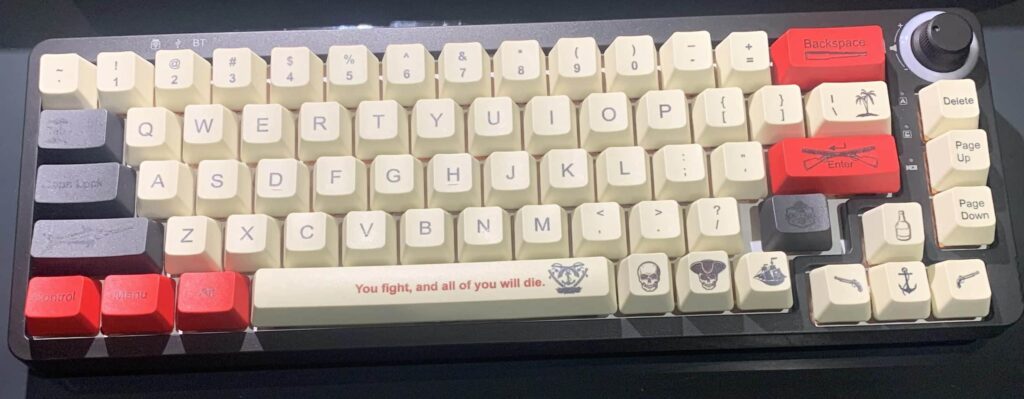
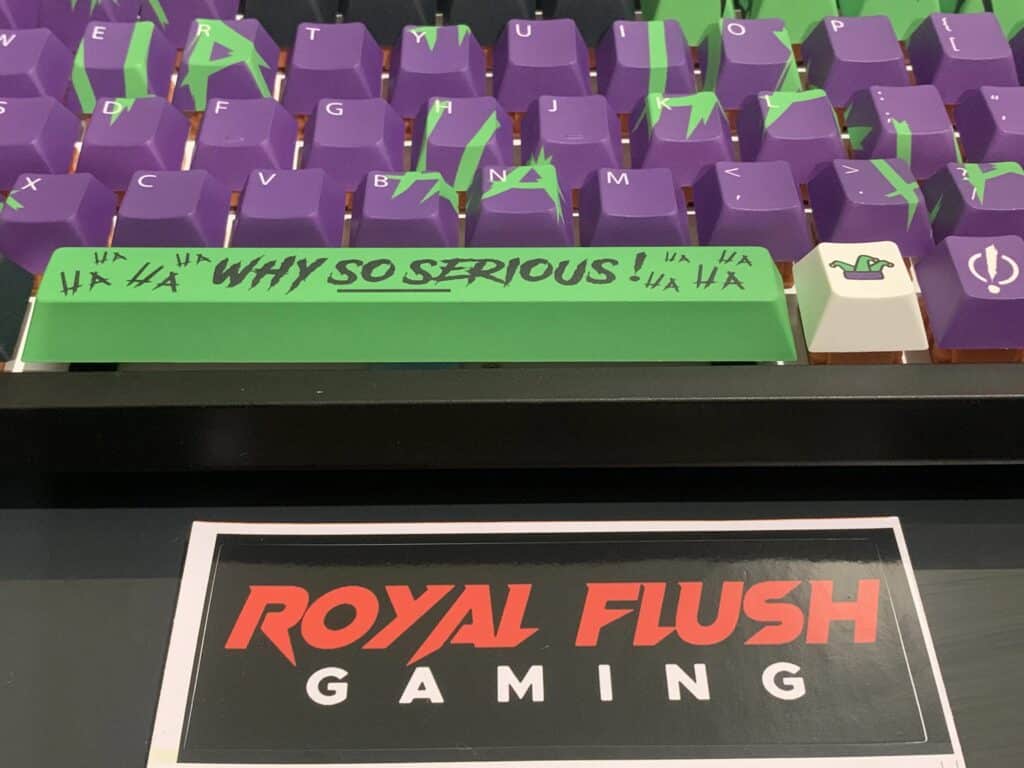
My build your own keyboard build arrived fully assembled with some fun pirate keycaps installed that set the stage perfectly for shootouts in Sea of Thieves. After some initial tapping I popped these off to take a look at the thocky carrot switches. And, to prepare for the big reveal of this review: the magnificent Joker keycaps make their grand entrance, leaving no doubt that this setup is exceptional. Prepare to be dazzled!
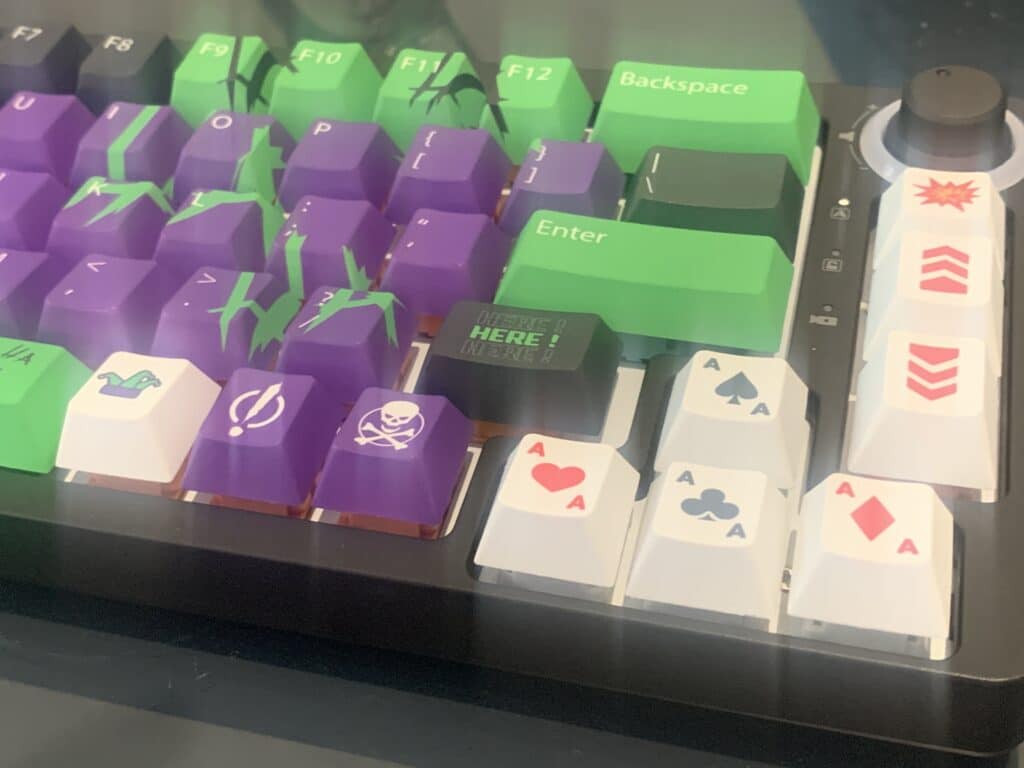
Royal Flush Gaming’s Proprietary Joker Keycaps
The only tricky part is remembering what keys the three keycaps to the left of the arrow keys correspond to. Luckily the board came with a helpful layout guide on the manual which I have been able to use to remind myself of what goes where.
Getting creative with the switches
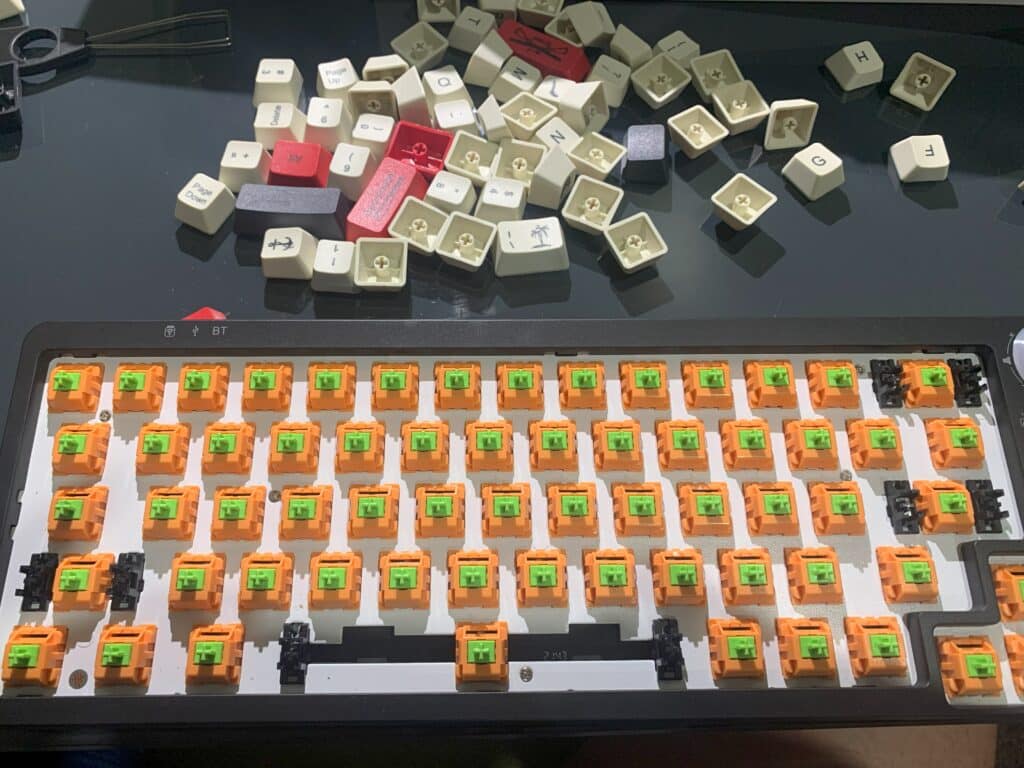
The hot swappable board makes it simple to remove and add switches. Using the tool provided it was easy to pull out each switch- getting the tool underneath the switch and having the other side grip the switch made it simple enough to extract each switch.
I did damage a switch or 2 being overzealous when pushing them in- just make sure the contact pins are centred over the notches before you push down.
I put a few of the panda switches on the arrow keys just to have a little bit of haptic variance. These have a lighter feeling to them than the carrots. Which as I write this article, am enjoying for repetitive key presses such as trying to select a specific letter in a paragraph. For the bigger keys- (spacebar, shift, enter, backspace) which have some mounts to support the key as it rests on the switch, I used the blue sky linear switches as I found these to have the least resistance, and again give me a different type of feedback so I know that I’ve hit the right key.
Connectivity
I was able to connect the keyboard very easily to my PC via Bluetooth. It can connect in a fairly native way without any dongles which is a big plus for saving some USB ports. The latency was quite low and it was nice for general typing. I’ve got the USB cable plugged in now and enjoyed using it to write this article.
A big thanks to Kristopher from Royal Flush Gaming for sending out this build for me to review and tinker with! His mission is to allow Keebnerds like us to improve their desk and, customise their whole experience from the ground up.
Discover more from The Keeblog
Subscribe to get the latest posts sent to your email.